
For this post I’m going to do something a little different and give you a guide to making your car a true adventuremobile!
Picking the Right Car

I’m including this section because this was actually a huge process for Jon and me. When we first set out to get a car, we knew we wanted something that we could sleep in comfortably and discreetly because we wanted the flexibility to travel whenever and wherever.
Our first plan was to get a van. We started out looking at VW Vans and Dodge Rams, mostly because they offer the most space and comfort, plus they can blend in easily in neighborhoods. It was also really easy to get in on the hype since there are seriously hundreds of Instagram accounts of people who travel in or live in their vans and they make it seem like so much fun! Honestly it’s still something I want to do.
After test-driving a few of these giant vans, however, we realized that it wasn’t quite for us at the moment. For our price range ($4000-5000) we couldn’t find a van that we felt was reliable enough, especially because most big vans in that price range are 1990 or older with over 200,000 miles.
So the next vehicle we considered was a GMC Safari or Chevy Astro, which are essentially the same car. We test-drove a few and really liked them. They are more compact than the Dodge Ram and other camper vans while still providing a ton of room in the back. Not to mention, all of the seats can come out to give even more room! However, after doing more research, we discovered that often times the Chevy Astro can develop issues with the steering. Since we like going into the mountains and down into windy valleys for camping, this wasn’t going to be the car for us unless we could get a newer model or one with less miles on it, which was out of our price range. This was a hard idea to move on from because we found a Chevy Astro with AWD that we absolutely loved but it was $10,000 which was very far out of our price range.
Just as we were feeling like our wish to get an adventuremobile was hopeless, Jon suggested we start looking at Subaru Outbacks. We had talked before about how we both like Subarus and would love to get one someday, so we started digging around online. While the newer models are bigger (which is nice), they were out of price range. However, models from 2006 and older were still in our price range and not all of them had an insane amount of miles!
We started test-driving Subaru Outbacks and we loved them. The AWD makes the handling great around corners and in any weather, the back seats fold down to provide a mostly flat bed area that we can both fit in easy (we’re both under 6’ so that helps).

After trying out a few, we decided on a 2004 Subaru Outback that was the fanciest model of it’s year, which means leather seats, sunroof, and moonroof for $4000 with about 135,000 miles. The price was truly incredible and so far we’ve just had to get new tires and do the alignment.
The Bed

As I said before, one of the reasons we chose the Subaru Outback was that the seats fold down and make a flat area in the back. Of course, tons of other cars can do this and make enough room. For instance, our roommates have a Ford Escape that they’ve tricked out to hold a bed frame and mattress.
For the first few trips we tried to get creative since we didn’t have a mattress yet. We blew up our backpacking pads and put them down as the bottom layer.

Next, we added a foam mattress topper that we bought from our friends, then covered it with a fluffy down comforter.
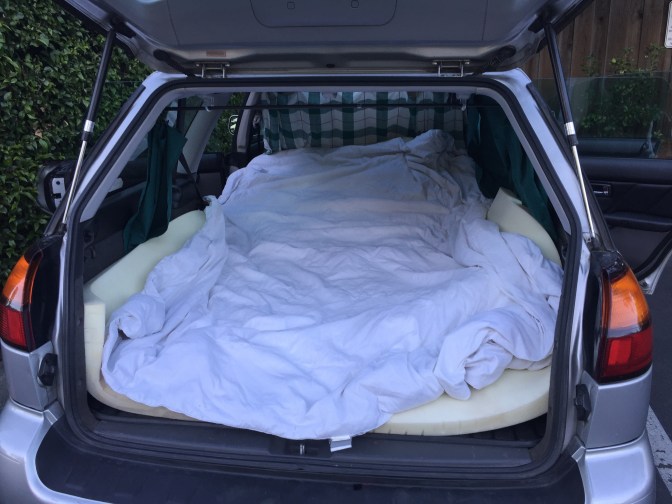
Next we put on the fitted sheets…
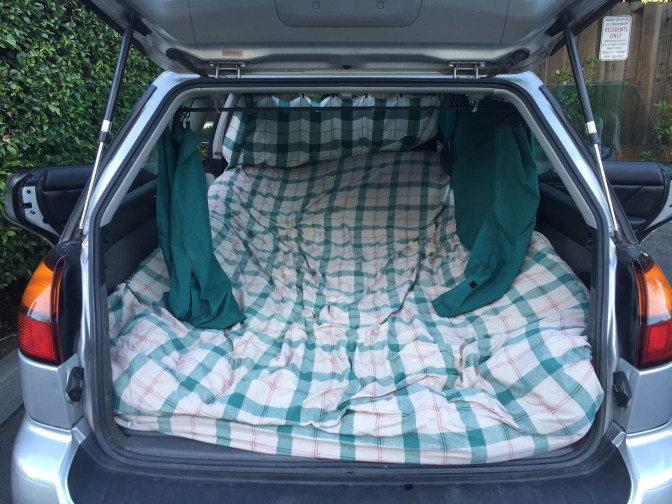
…and then added the rest of the bed fixin’s and voilà!

It is decently comfortable but definitely not a permanent solution.
We’ve kept our eyes out for a few weeks on Craigslist and OfferUp for a full-size foam mattress. We want foam because it’s shorter in height than a spring mattress and we want to be able to cut it to fit the back of our Subaru. Because of the raised wheel wells, we either have to make a frame that goes above them, which we think would cut out too much space, or get a mattress that fits in between. Unfortunately, only a twin size mattress will fit in that space, but Jon had the idea to get a bigger mattress and cut out the area around the wheel well, so that’s what we’re aiming for.
We haven’t found a good mattress yet, but I will post an update once we do!
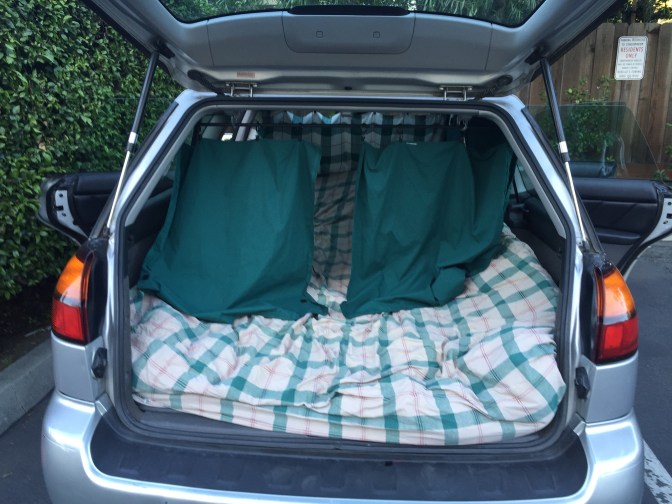
The Curtains
The curtains were definitely the most work out of everything. We knew that we wanted to avoid making any permanent changes to the inside of the car, so we had to get creative. I decided to use these hooks at the top of the car to insert a metal S hook that would hold a tension rod for the back. Currently we don’t have the metal hook, but instead some cheap, plastic shower curtain hooks. I don’t recommend these since one of them has warped and melted in the heat already. We’re working on replacing them.

For the sides, so far we have been using a parachute cord that is tied to the front handle above the door and then to the tension rod in the back. For blocking off the front, we use another tension rod that hangs between the two handles from the back doors.
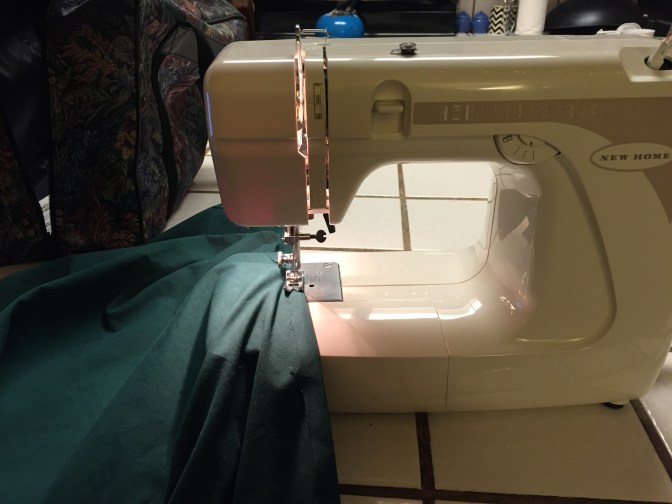
So now that I had the framing figured out, I had to make the curtains. Instead of buying new fabric, I decided to get used sheets from Savers. After thoroughly washing them in scalding water and drying them, it was time to start.

I first went out to the car and made sure I measured the lengths of everything I needed. One of the challenges was that the top of the hatchback recedes in to the back while the bottom of it juts out, so the curtains couldn’t just hang down, but instead needed to be fastened to the bottom somehow. I decided to do this by sewing velcro on to the bottom of the back curtains and sticking the other side to the plastic on the car.
The rest of the process was fairly simple. The only sewing I did was to straighten out the edges after cutting. You don’t really need to know how to sew to do this, although a sewing machine is pretty necessary or it will take forever. My process was:
1. Cut the shape I need
2. Iron the hem
3. Sew
Done! Simple, right?
We used shower curtains rungs with little clips on the bottom to attach the curtains to the tension rods.

After traveling with them like this one time, we realized this may not be the best solutions as the rungs are noisy and move a lot while driving and they also leave about 3 inches of room that can be seen through. My plan for this is to actually sew the curtains with a loop over the tension rod. I’ll write an update when I have that finished!
The side windows are the most difficult because they are huge and long. To make the solution easy to implement (as I was running short on time), I bought small clothespins, so all we had to do was clip the sheet curtains to the parachute cord once we arrive.

Eventually we are going to make something that can stay up permanently and just be pushed to the side, but again, we were in a time crunch!
Conclusion
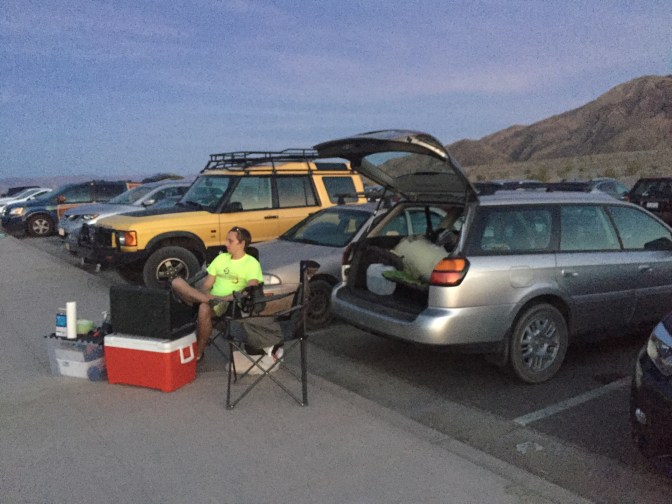
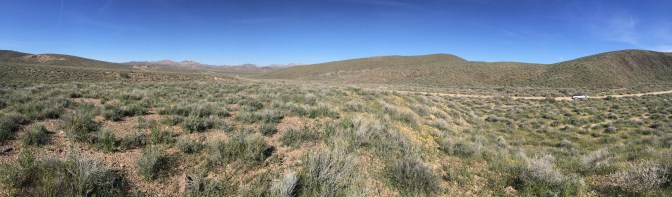
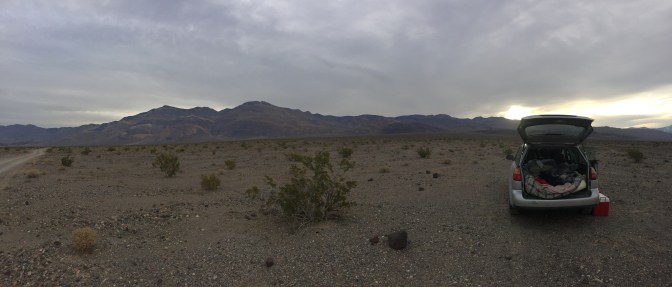
So there you have it! Our adventuremobile isn’t perfect, but it’s definitely ready to go! We’ve already taken it to a half-week trip in Death Valley (check out my post about our trip here) and then a one-night stay on Highway 1 near Santa Cruz (check out my post about that trip here) and so far it’s been spectacular.
We love the flexibility of having everything we need with us in our car and not knowing where we’re going to stay for the night. If you love travel and exploration, definitely look into doing this! It’s a great way to get to know the surrounding area of where you live while saving money on camping sites and Airbnb.

Follow our Subaru’s adventures on Instagram at @strider_the_subaru!

Awesome! I couldn’t help but think, “What about the bathroom?” 🙂
LikeLike
Depends on where we are 🙂 campgrounds, there are bathrooms. If we’re camping near towns, we go to a coffee shop and buy a cappuccino and use their bathroom. If we’re out in the middle of nowhere, like when we went backcountry camping in Death Valley, then the world is your bathroom! 🙂
LikeLike